Follow on Bloglovin

Pages

Saturday 9 August 2014

Coatigan Copy

This was a project which reminded me why I sew for myself. Sometimes I think - I'd really rather just buy that, it'll be so much quicker/cheaper/easier/more instant gratification than making it. 


But when I tried on this "coatigan" (half coat half cardigan) and saw the price at AU$140 I went "nope - I can make it!" and was extremely grateful to not have to commit to spending that money on a store bought garment. 

The original coatigan I tried on...
   

And my version!

I would never have thought that this style of loose, layered coat/jacket would suit me but then again - I'm wearing leggings with it and I never thought those would suit me either! So when I tried it on (admittedly just to see if the silhouette worked) I was really surprised to find it made me feel very sophisticated, like I was in Vogue or something, yet comfy and warm at the same time. Being comfy and warm are starting to become requirements for my own makes now as it is still freezing and I'm tired of being cold or having so many tailored layers on that I can't move!


As soon as I knew I had to have a coat like this I also knew exactly which pattern I needed - Vogue 8930. Despite the somewhat awkward photos on the model I suspected the clean lines of the "cocoon style" coat in this pattern would give me the same feel as the store-bought option. I also knew I had to get my butt back to Ferriers fabric as I had buckley's looking for something so luxe feeling and double sided at Spotlight and Lincraft.

Vogue Pattern + my Sewing Notes
Fortunately Ferriers Fashion Fabric came through for me again and I found the perfect black and white check boucle fabric which I decided to trim with faux leather binding from spotlight.


A word of warning: The faux leatherette bias binding is THE DEVIL'S TRIM!!!! It took me longer to finish the binding than to cut and sew the coat! The inside of the bias is sticky for some reason so no matter what I tried it just would not feed through my machine at an even tension. The result is that the trim is wavy and quite a bit smaller than the edge it follows - it works on such a relaxed look but honestly it was such a nightmare I don't know if I will ever use it again. If I had too I would only ever topstitch it as the 'good' side was somewhat easier to work with though still a nightmare. The only reason this didn't end up in the room of frustration is that I really really wanted to wear it!

The "leather" binding stitched flat on the pockets ok...
but completing this edging was awful!!
The pattern itself is very easy to construct - there is literally I think 4 pieces? I left out the 'inside pocket' since that seemed unnecessary but instead used the biggest pocket pattern piece as the outside pockets. I placed these last so I could make sure they were in the right spot for my hands. This spot ended up being on the bias of the checks and I quite like the look of this unplanned detail.


I cut a size XS of view A, which is the shortest length, since the design is so voluminous and I am quite happy with this fit. I particularly like the bracelet length sleeves - when I wore this out today I added black long gloves and the whole look had a nice vintage feel. Cocoon coats are quite a 1920's style look, just imagine this shape in floor length velvet and you have yourself a Gatsby costume!

Copying the model from Vogue!
I really love the unconscious glamour of this coat - it's relaxed yet chic, modern yet comfy and WARM to boot! I'm not sure if I would make more simply because one of this type of item seems to be enough in my wardrobe. That said, I have had so many comments on this since I made it (and haven't stopped wearing it!) I suspect requests could be coming in soon for similar designs. :-)

This design takes a LOT of fabric - 2.2m and I needed all of it!
Finally, because this hip-happenin-sophistication-plus "coatigan" makes me feel just like I should be in Vogue here is my very best model duckface:

Workin It All SexyLike!!
Hmmmm.. don't call us we'll call you?

Happy Sewing!!!

Wednesday 6 August 2014

The Cuddliest Trousers - Thurlows the Second

After such a success with my first pair of Thurlows from Sewaholic I definitely wanted to make more of this fabulous pattern.
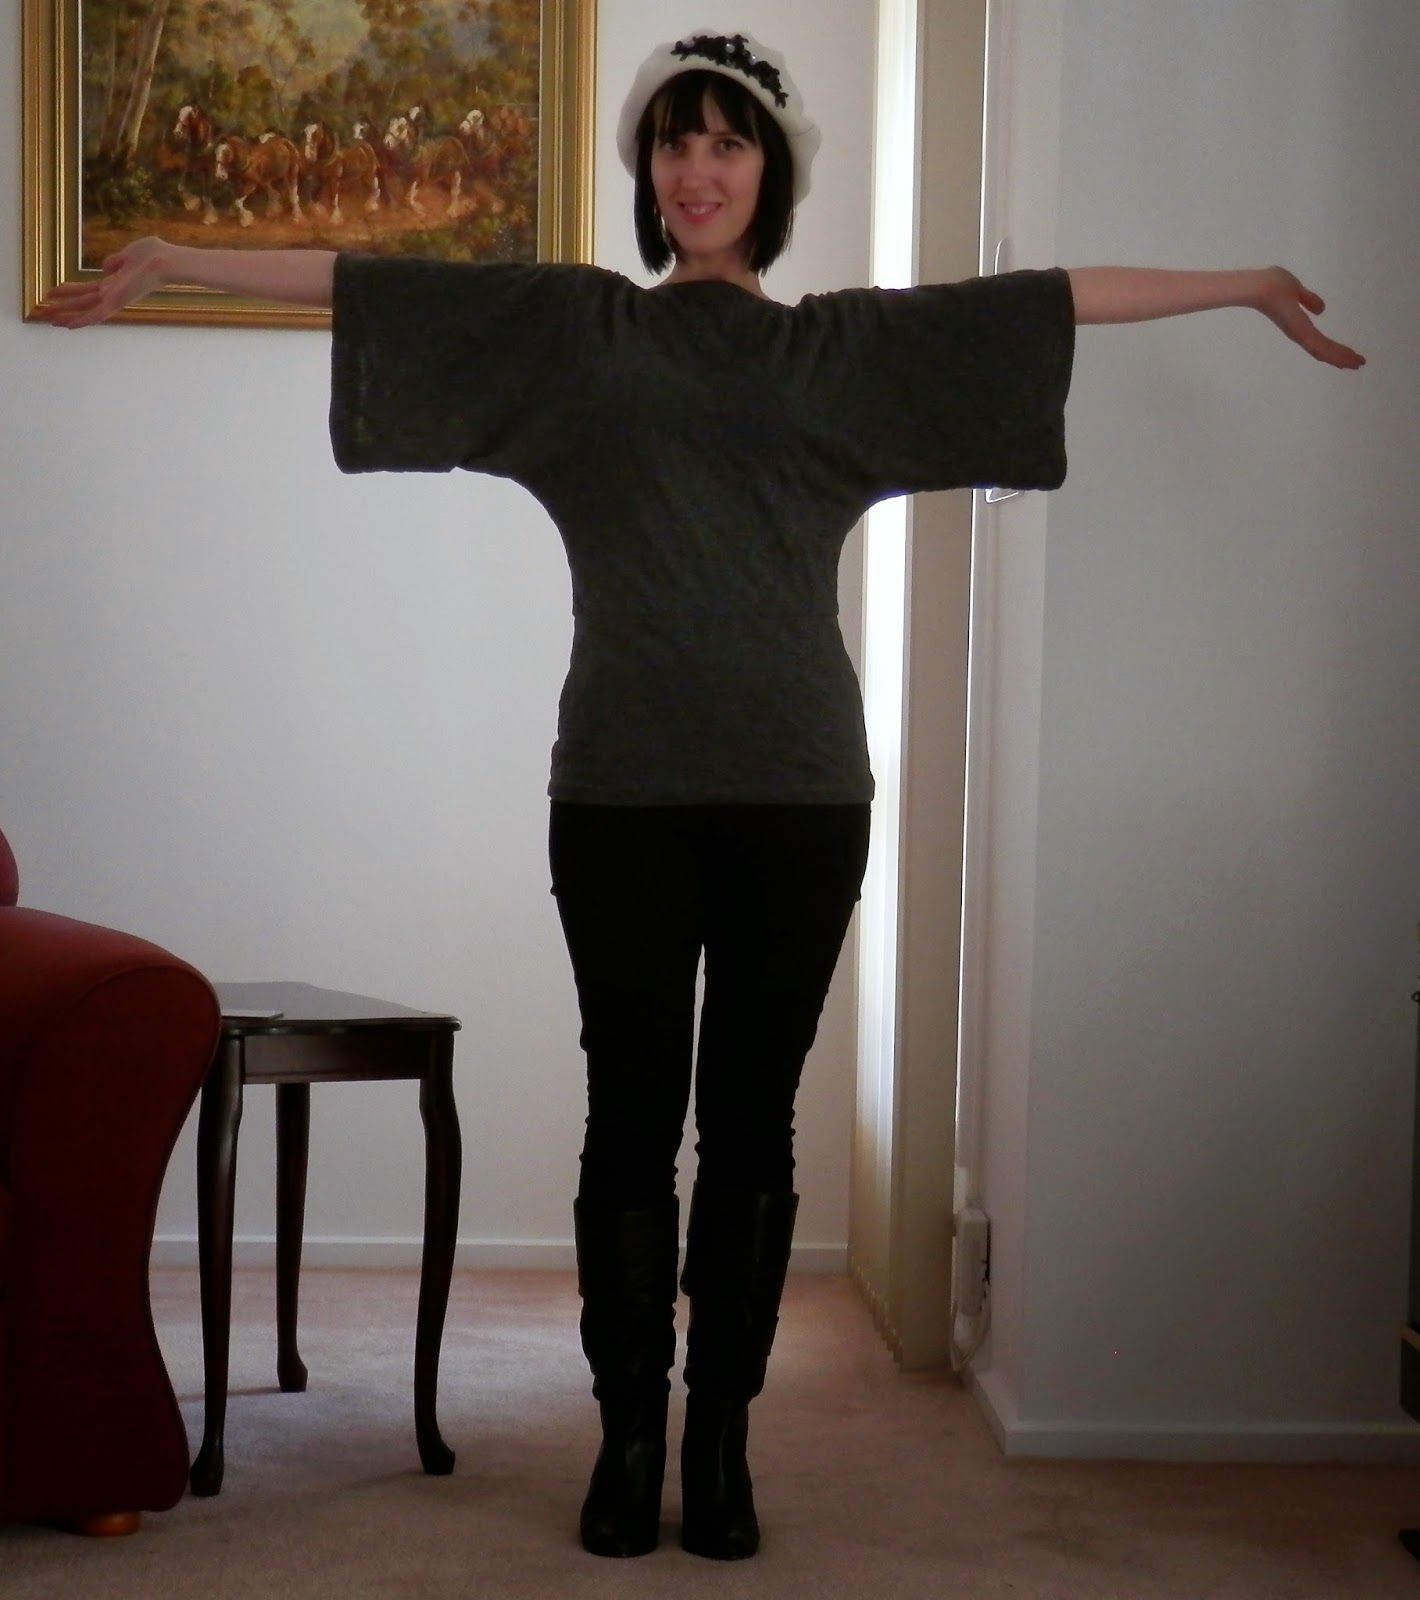
Slight Goober Face
I also wanted to try a newly discovered fabric spot at Ferriers Fashion Fabric in Adelaide. After being exposed to so many gorgeous fabric stores in Sydney and Melbourne I really wanted to look for smaller stores here in Adelaide that retail different/better quality fabrics. Ferriers came up on this search and since it was only round the corner from work I decided to check it out. If you've read my last post you'll know this was a successful visit since I've been back 3 times since!


On my first visit I really fell in love with this soft grey herringbone pure wool flannel - I saw a brown version of this fabric at The Fabric Store in Sydney but I wear more grey than brown  so I am glad I waited and purchased the grey version instead.


Let me say first off - This Fabric ROCKS my world!! It looks very tailored but due to the soft brushed insides it feels like I'm wearing my PJ's :-D

What's that? You like my pants???
The combination of excellent pattern and beautiful fabric was an almost guaranteed success and I am certain that these are going to become a favourite pair of trousers! I top-stitched the back welt pockets this time and I love the finish so will do this again from now on.

Welt Topstitch Detail - Oooooh!
I lined these pants using the left over cotton lawn lining I cut out for my last pair of Thurlows but couldn't use due to the sheerness of the fabric I was using. Having fun linings and funky buttons always make me happy and isn't that the point of sewing for yourself?

Crazy Fun Linings of Joy
One word of warning - I cut my usual size 4 and sewed a normal back seam allowance which actually produced a pair of pants slightly too big for me. However, I'm extreeeeeemely slack about pre-washing fabric and after the first cold-water wash I found these shrank up quite a lot so they are now the perfect fit. Just something to keep in mind since I've rarely worked with 100% wool fabric in the past but I will certainly continue to use it in the future.

I was really excited to find an actual 4" metal teeth 'trouser zip'
I once again used the Lladybird tutorial and these came together in just over a day. I think this pattern is fast moving to become my TNT pants design - they are constructed beautifully and are easy to fit and wear so wins all around!!
And yes - I do have more fabric to make another pair, this time in pin stripe velveteen once again from Ferriers so more Thurlows shall grace my future blog!

Friday 1 August 2014

Bat Outta Hell Burda Batwing Top

After my Me Made May adventures I discovered my wardrobe is lacking in comfy, warm winter gear and I've been thinking about how best to fill this gap. Leggings was the first step and now I've moved on to tops.


I've always had a liking for "dancer" style clothing (wrap cardies, circle skirts, ballerina tops and of course batwing or Flash dance style tops or t-shirts). I've always been a dancer at heart so I blame 9 years of jazz dance training for this obsession with ballerina and dancer clothing. I was convinced for years that I couldn't wear the batwing style but as I'm trying to branch out in the styles I wear I thought it was time for another try.


And the great news? I LOVE IT!!!


This is Burda 7866 which I believe is out of print now. I have had my eye on it literally for years so when I saw it marked down on a recent trip to Ferriers Fashion Fabrics along side the perfect fabric to trial the design it seemed fabric fate had brought us together! 


The fabric is a grey, self-pattern knit from Ferriers Fashion Fabrics - these guys have a seriously wonderful selection of fabrics and great service (I've already been back for more fabric to make 2 more versions of this top!). Although not always the cheapest, the quality is amazing. After making up 2 garments in fabric purchased here I can honestly say that slightly pricier fabric is worth it as everything is easier and looks 10 times better in a good fabric. Plus they did have a sale running so this knit wasn't all that expensive in the end. The pattern takes 1.6m for the size 10 I made and while you can squeeze this top out of 1.3m I think you would lose the shaping to the bottom band in the process. So for a whole 30cm of fabric and a nicer shaped top I think sticking with the 1.6m length is best.


Constructing this baby was easy - including tracing the pattern, cutting the fabric and unearthing the second overlocker needle this still only took 3 hours! I think the next one will probably be more like 2 hours (oh yes there will be more of these!!). Everything is cut on the fold where possible to save on seaming during construction. I chose to skip making the matching belt since it felt too fussy to add an unnecessary tie to a simple knit top. As you can see - after attaching the neckline bands this top only has 5 seams and 3 hems to complete. I followed the instructions for attaching interfacing and a neckband to the neckline which was similar to adding bias binding, technique-wise, and am actually really happy with the finish here. Normally I would just add viseoflix and turn the seam allowance but so many people have said how nice the neckline is finished I think I will continue using this method! I sewed all the seams on the 4 thread overlocker with wooly nylon on which definitely helped speed up the process :-)


I really like the simplicity of this top. In a lovely weight knit like this one it drapes and hangs beautifully and I like that the neckline, although high, is quite wide and flattering. I've been wanting to wear this constantly since I finished it and it's certainly going to become a TNT (Tried N True) pattern in the future! Now I just need to work on my pirouettes ;-)